
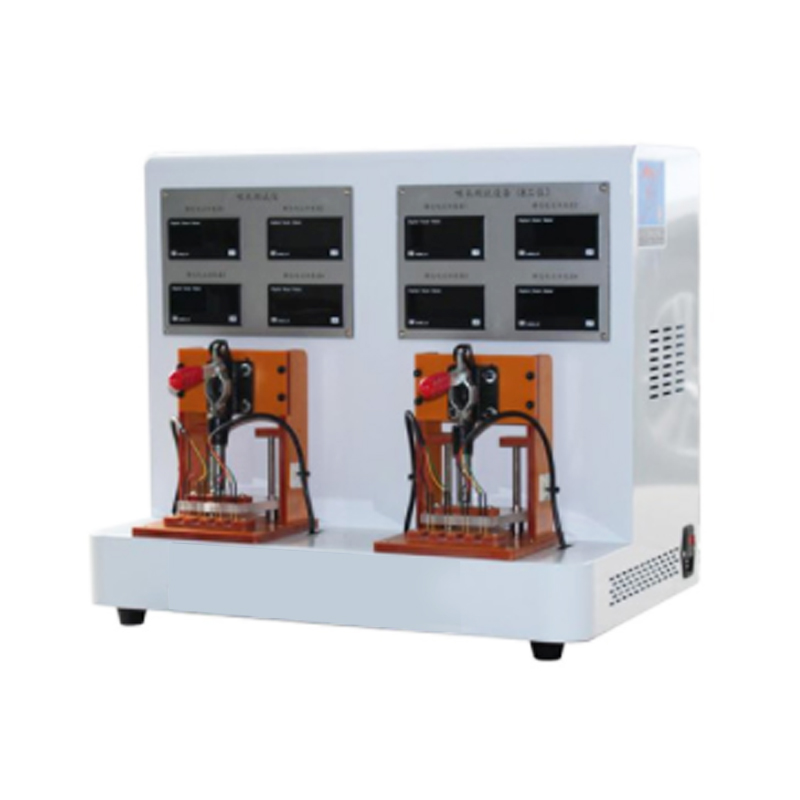
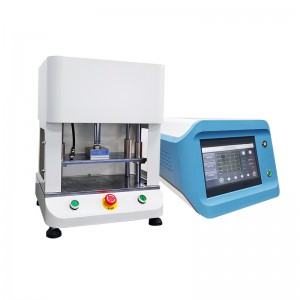
PCB board microphone test equipment

Product description:
Do semi-automatic testing, manual loading, automatic switching between test items; automatic judgment of test results, test output needs to be automatically counted and yield rate displayed, and 8 products are tested each time. The test output and input need to be optimized for the copper column pressing contact test.
| Quiescent Current | 1. The shutdown current is less than 15uA |
| 2. ’B+’ and ’B-’ are connected to the 3.7V cell input, and the loop is connected in series to the microammeter for measurement. After 5s without pressing
the switch key and in the non-charging state, the value is less than ?15uA. |
|
| Output test: | 1. Connect 1Ω resistors to D+ and D-, observe the status of the lamp, and then press the button to observe the value of the output voltage |
| 1. Atomizer detection and
working state test |
2. When connected to a 1Ω resistor, when smoking, the white light will be on (the light will gradually turn on for 2000ms when starting to smoke, and it will
gradually turn off for 2000ms when stopping
smoking), and the light will remain on during the smoking process; |
| 2. Microphone detection | 1. Connect 1Ω resistors to D+ and D-, then blow air into the microphone to observe the voltage change on D+ |
| 2. When blowing on the microphone, the airflow rate is 14ml/s, and the voltage on D+ will be 2.45-2.65V | |
| Protection test: | 1. Add a load of 0.2Ω to both ends of D+ and D-, blow air to the microphone head to observe the status indication of the light |
| 1. Overcurrent short circuit test | 2. When blowing on the microphone, the red led flashes 3 times. |
| 2 Low voltage test | 1. When the input voltage is lower than 3.0, observe the status display of the LED |
| 3 Over suction protection | 2. The white LED flashes 10 times, on for 200MS and off for 200MS, prohibiting smoking |
| 1. One continuous suction time 5S+0.5S | |
| 2. The white light flashes 3 times, turns on for 200MS, turns off 200MS, and cycles 3 times, and the output is prohibited | |
| Charging function test | 1. Connect the charger (input voltage 5V), observe the status of the led light and the display value of the ammeter |
| charging test | 2. During the charging process, the white LED breathing indicates the charging process, and the charging current is less than 670mA (18-45℃). |
Write your message here and send it to us
Products categories
-
2-station Electronic cigarette suction resistan...
-
Cigarette rod finished product testing equipment
-
2-station cigarette rod finished product testin...
-
Electronic atomizer fog concentration tester/El...
-
Electronic cigarette microphone head sensitivit...
-
Electronic Cigarette HNB comprehensive testing ...
-
Electronic Nebulizer Sensitivity Tester/e-cigar...
-
HJ Electronic Cigarette Cartridge Air Tightness...
-
Electronic cigarette automatic smoking test mac...


